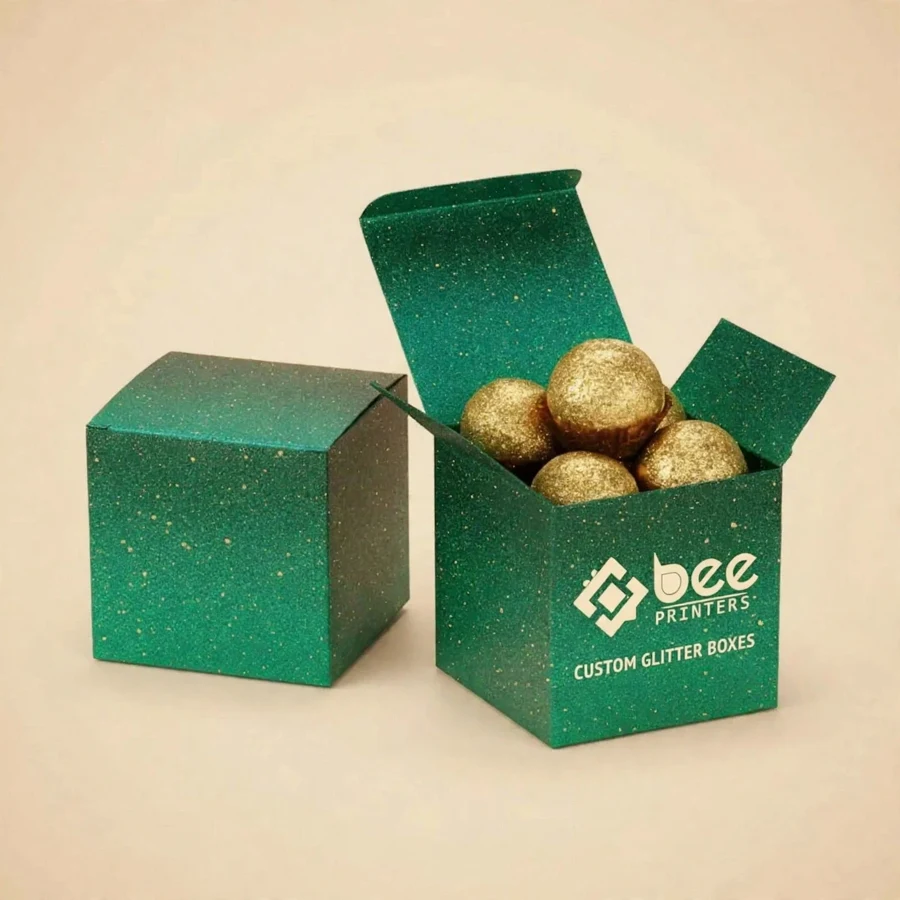
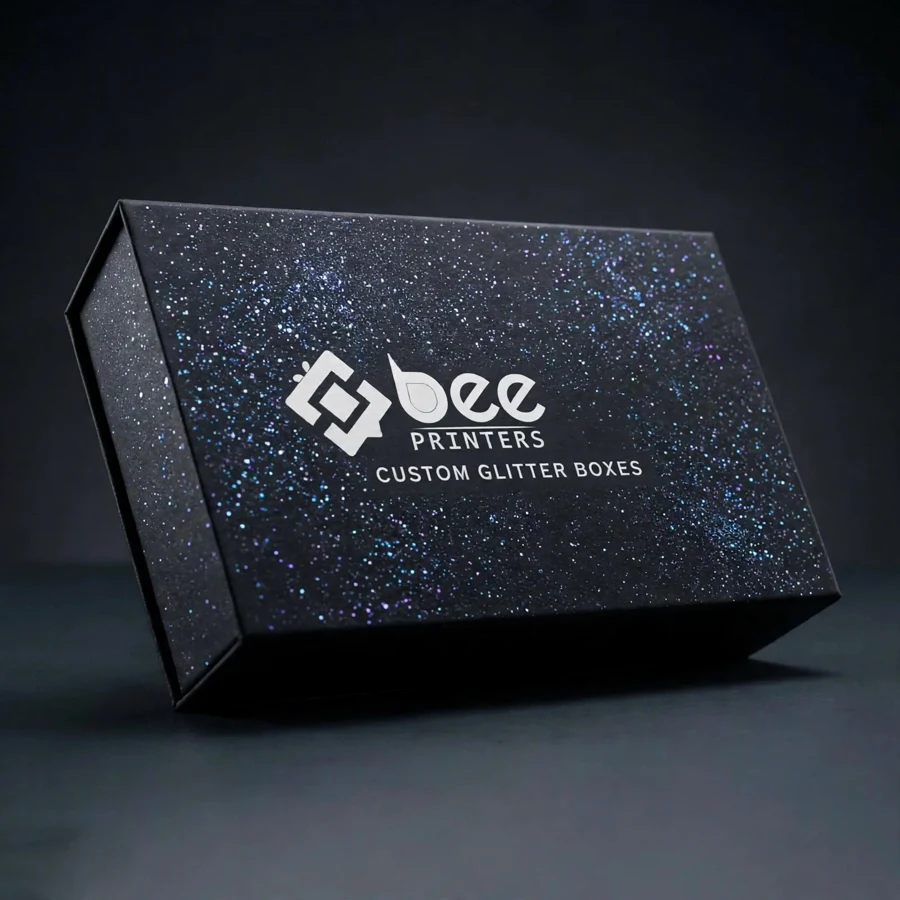
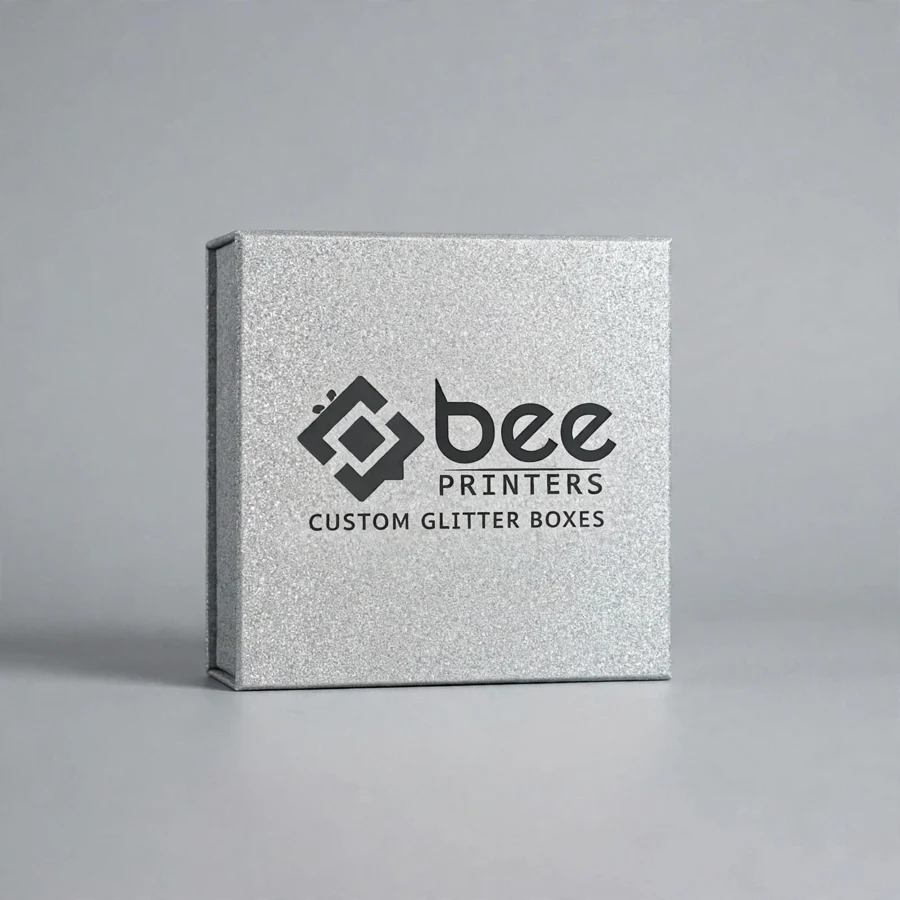
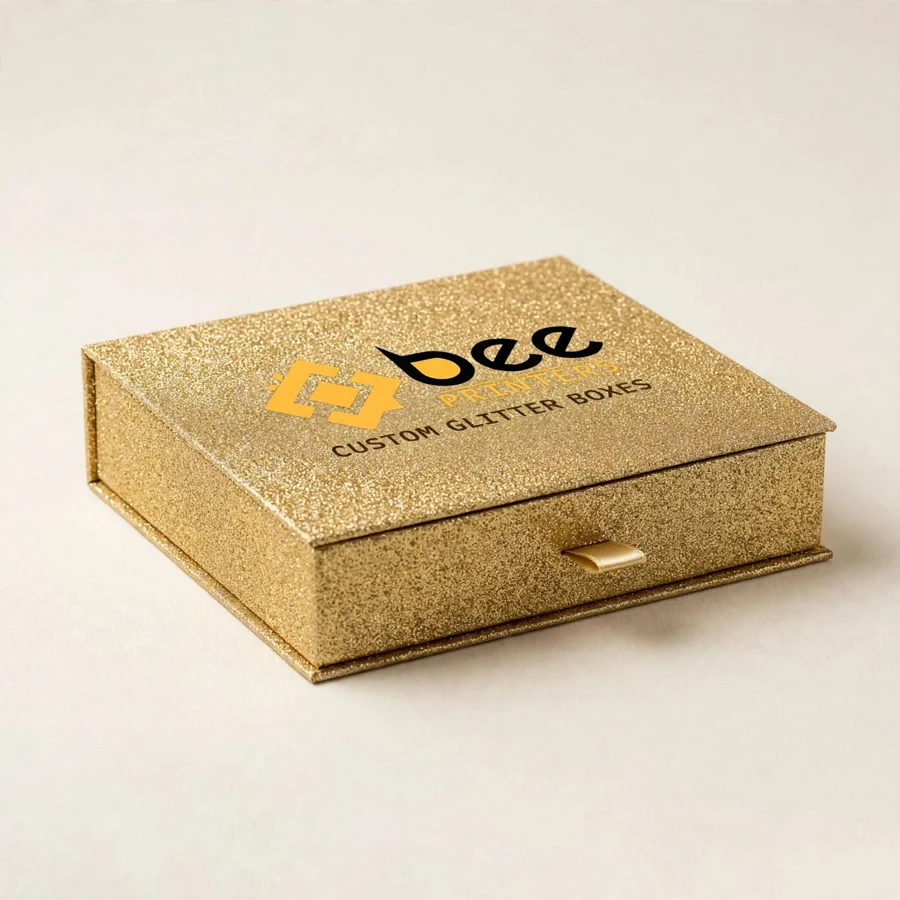
A glitter finish does something no plain print can do: it catches the light and makes a box impossible to ignore on a shelf. For gifts, celebrations, and products that are meant to feel special, that sparkle is the whole point of the packaging. At Bee Printers, custom glitter boxes combine a bonded glitter coating with full brand print, so the box sparkles, the branding stays clear, and the finish stays put instead of shedding all over the shelf.
The glitter coating is bonded to the board, which means the glitter particles are fixed in place rather than loose. A bonded coating keeps the sparkle on the box and off the customer’s hands, the shelf, and the product inside. The coating can cover the whole box for a full glitter look, or it can be applied to a panel, a border, or the logo area so the sparkle highlights the design instead of covering it. A sample is the best way to judge the effect, because glitter looks different under store lighting than it does in a photograph.
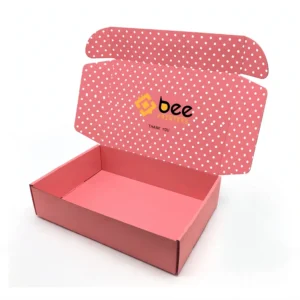
The structure follows the product. A tuck-end box suits smaller retail items and stands upright on a shelf. A two-piece box with a lift-off lid suits gift sets and premium presentations. A mailer-style box suits online orders that need to survive the courier network and still look good when opened. The size is always measured from the real product, including any insert or padding, so the box closes cleanly without forcing or gaping.
Printing on a glitter surface needs a different approach from printing on plain board, and it rewards simple, confident design. A bold logo, a clear brand name, and one or two strong colors usually work better than a crowded design, because the glitter itself is already doing much of the visual work. The lid is the natural place for the logo, while the sides and base can carry a short message or contact details. Keeping the layout simple lets the sparkle and the branding work together instead of competing.
Full-color CMYK printing reproduces brand artwork on a glitter-coated box, and the print sits over the coating so the colors stay true while the sparkle shows through around them. A gloss finish makes colors look deeper and adds a layer of surface protection. Spot finishes can highlight the logo: a metallic foil stamp adds shine that pairs naturally with glitter, and embossing raises the logo off the surface so it can be felt as well as seen. The artwork is checked before printing so that fine lines, small type, and logo details reproduce cleanly across the whole run.
Color choice matters on a glitter box because the sparkle changes how colors read. Silver glitter suits cool colors and a clean, modern look. Gold glitter suits warm colors and a classic gift feel. Colored glitter, such as pink, blue, or green, can match a brand color or a seasonal theme. A proof stage is the time to check the colors, the glitter density, and the logo placement, because these are the details that are hardest to fix after printing.
Cardboard is the standard material for glitter boxes because it prints well, folds cleanly, and takes the bonded glitter coating evenly. A thicker board adds crush resistance, which matters for a box that travels through the post or sits under other stock on a shelf. Kraft board gives a natural base that contrasts nicely with a glitter panel, while a coated board gives a smoother printed surface. Each material has its own character, and the choice should follow the product and the brand.
Coatings protect the print and the glitter, and they change the feel of the box. A gloss lamination adds shine, deepens colors, and helps keep the glitter bonded in place. A matte lamination gives a softer feel, though it is usually paired with a partial glitter area rather than a full coating. An aqueous coating is a lighter option that protects the print during handling without changing the look much. For brands that want a lower-impact approach, glitter options made with a plant-based film are available, and the material choice can be described on the box in plain words about the coating used.
The inside of the box deserves the same attention as the outside. A plain interior keeps the focus on the product, while a printed inner lid or a contrasting insert adds a finishing touch for gift packaging. A fitted insert holds the product still so it cannot shift or scratch during shipping, and the insert should be tested with the real product before the full run so the fit is right first time.
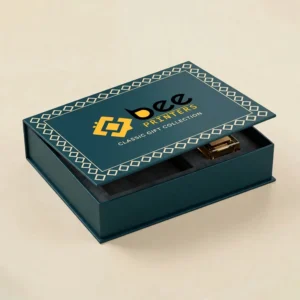
Gift sets suit a two-piece box with a lift-off lid, which adds a sense of occasion to the unboxing. Retail shelves suit a compact tuck-end box that stands upright and shows the front panel to the customer. Online orders suit a mailer-style box that survives the courier network and still looks good when the customer opens it at home. Choosing the style for the channel keeps the packaging practical instead of decorative.
Seasonal and occasion designs are a natural fit for glitter boxes. A different glitter color, a seasonal motif, or a small change in the artwork can turn the standard box into a holiday or celebration pack without changing the box structure. This lets a brand offer a fresh look for birthdays, weddings, and holidays while keeping the same size and the same structure. A window cut-out is another option, letting the customer see the product without opening the box, and it should be planned into the artwork from the start.
Sizes are cut to order, from a small box for a single item to a large box for a set. Standard sizes keep costs down for common products, while custom sizes suit a brand with a distinctive product or a presentation idea that needs an exact fit. Measuring from the real product, including any insert or padding, is the step that makes the finished box close cleanly.
Brands usually order glitter boxes in the hundreds or thousands, and wholesale quantities bring the per-box cost down. Larger runs spread the setup cost across more units, so the price per box falls as the quantity rises. Small runs are still possible for a new product launch or a limited edition, letting a brand test a design on the shelf before committing to a larger order. Boxes arrive flat-packed and ready to assemble, which keeps storage simple and shipping costs reasonable.
Planning an order starts with four decisions: the box style, the size, the board, and the artwork, plus the glitter color and coverage. Once those are settled, a sample can be produced so the brand can check the fit, the glitter effect, the feel of the board, and the print quality before the full run. Sampling is worth the small delay it adds, because it is the last easy chance to change anything, and checking the sample under store lighting is the surest way to confirm the sparkle reads the way the brand expects. After approval, the full run is printed, coated, cut, folded, and packed for delivery.
Brands that sell more than one product often order one design in several sizes, so the small pack, the standard pack, and the gift set all share the same artwork. This keeps the brand consistent and simplifies reordering, since the artwork file stays the same and only the dimensions change. Over time, a brand can build a small family of boxes that customers recognize at a glance.
For brands building out a full metallic and special-finish range, the metalized boxes collection brings together the box styles that suit shiny and special finishes, so a whole range can be planned in one place. And for a related look at glitter print on a smaller product, the glitter lip gloss boxes show how a bonded glitter coating and bold printed branding work together. Both pages give a useful starting point for planning a glitter box that fits the product, the brand, and the way it is sold.
| Material | Kraft, Cardboard, Corrugated, Rigid stock |
| Sizes | All custom sizes (any length × width × height) |
| Printing | CMYK / PMS, full-color, offset & digital |
| Finishing | Matte, Gloss, Soft-touch, Foil, Spot UV, Embossing |
| Add-ons | Window cut-outs, inserts, interior printing |
| Minimum Order | 100 boxes |
| Turnaround | 7 to 10 business days after design approval |
| Shipping | Free shipping across the US |